
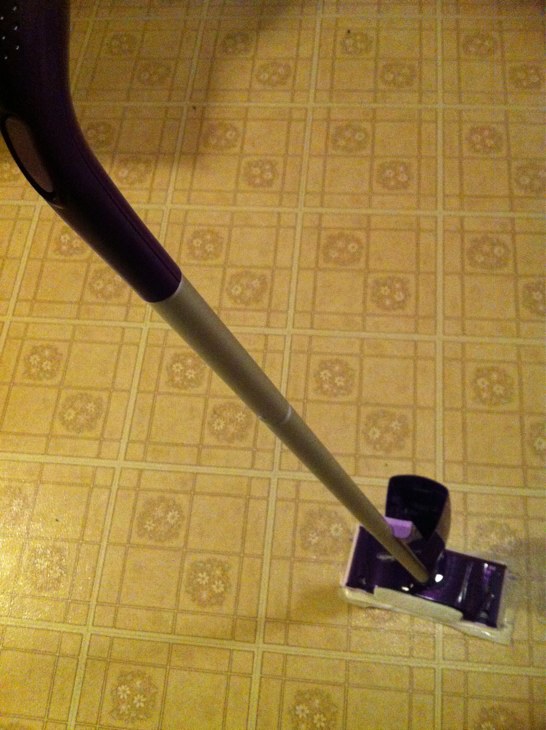
For an upcoming project I realized I needed something that wasn’t readily available (and cheap): a DC electric pump. If you have ever used a Swiffer before you will know that when you press the button on the end of the handle you hear the distinct whir of the motor spitting out the washing fluid onto the floor. In my confidence and experience of 20+ years of taking things apart and putting them back together I decided to go out and buy one with one goal in mind: total tear down.
The Tear Down
Disclaimer: this is purely for educational purposes only. If you choose to to this yourself you do so at your own risk of injury or loss of any kind. Also, what I will be doing to my Swiffer in the next steps will indefinitely void any warranty (if they have warranties..) it has.
You have been warned!
Ok! On to the good stuff.
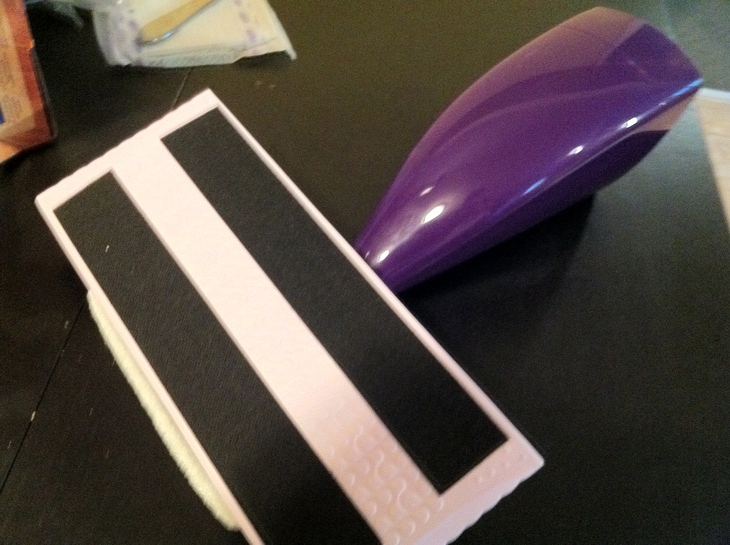
Take everything out of the packaging.
What we’re most interested in is in the lower housing of the Swiffer. Attack!
Lets remove some screws
-
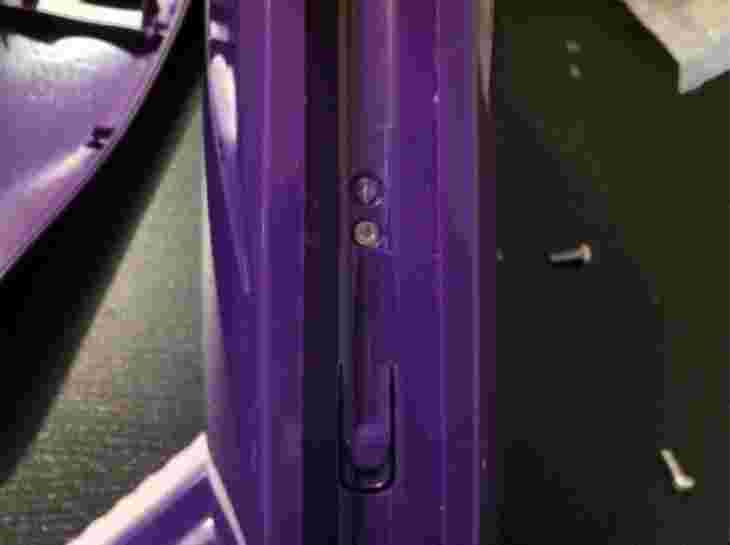
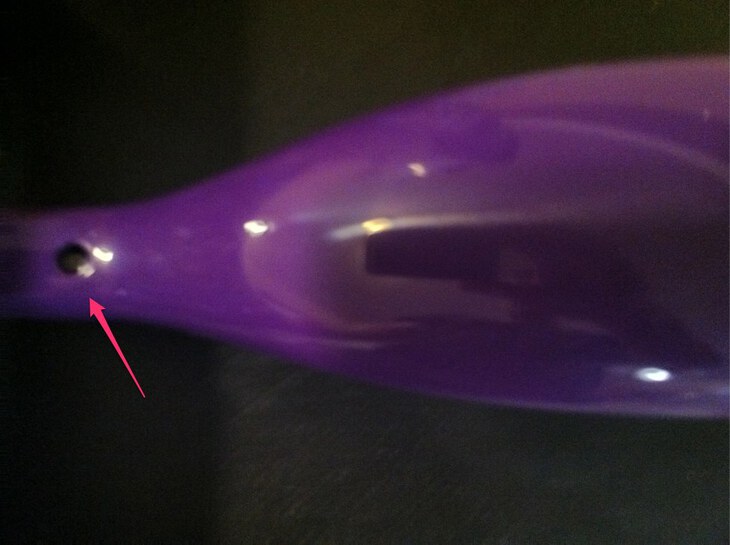
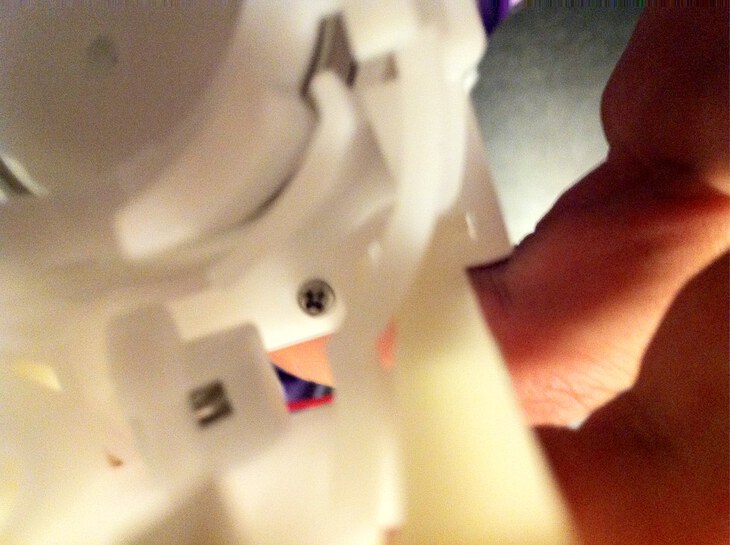
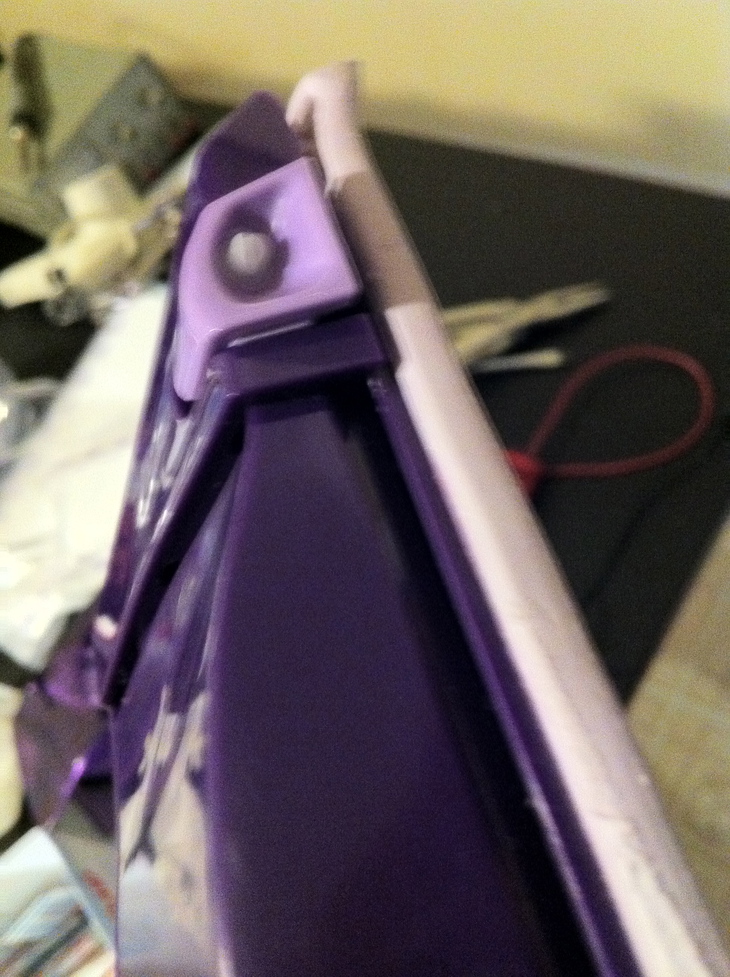
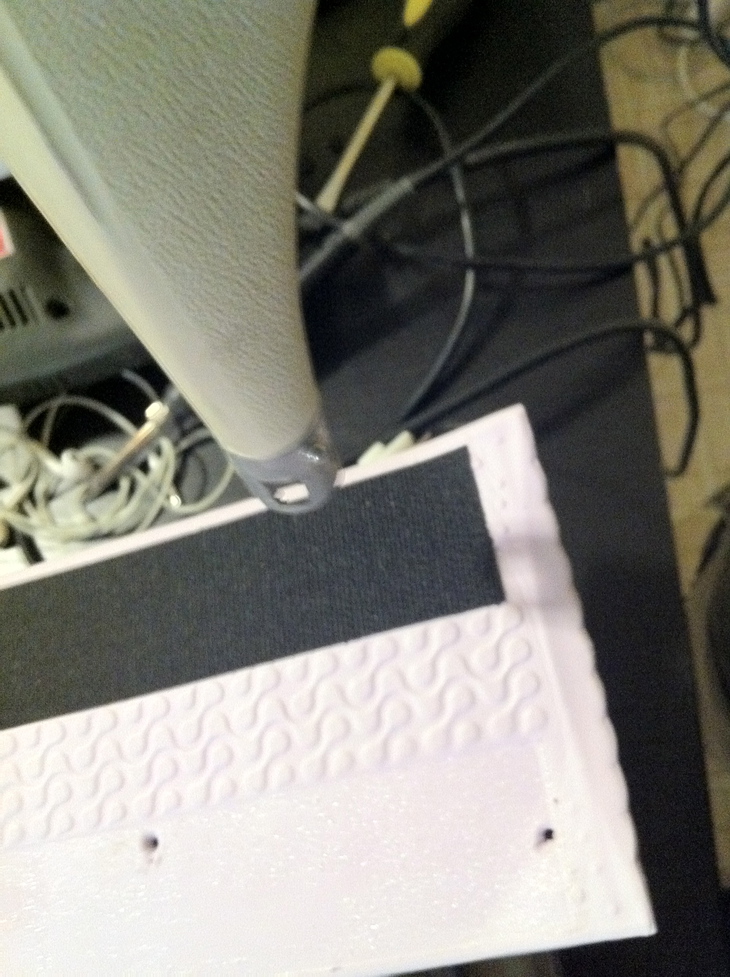
Remove the screw right behind the narrowest portion of the lower housing.

-
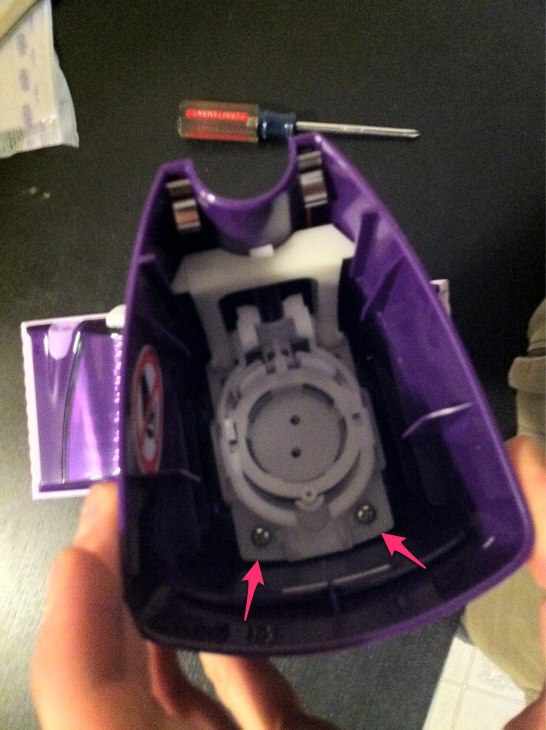
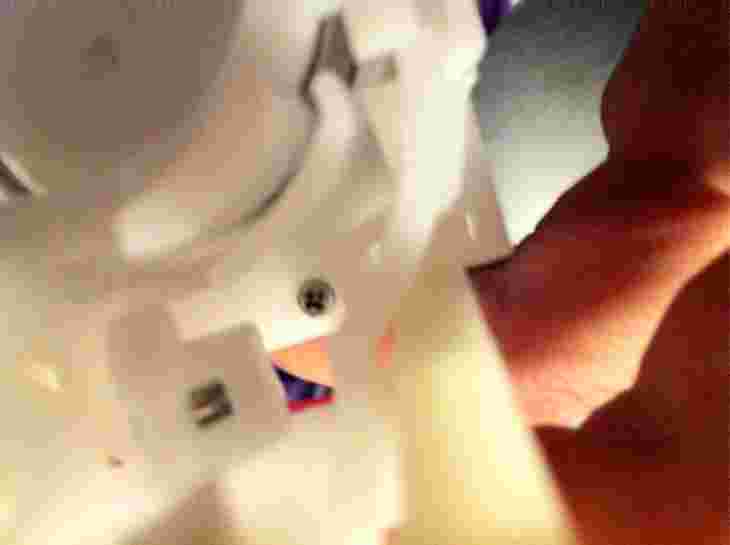
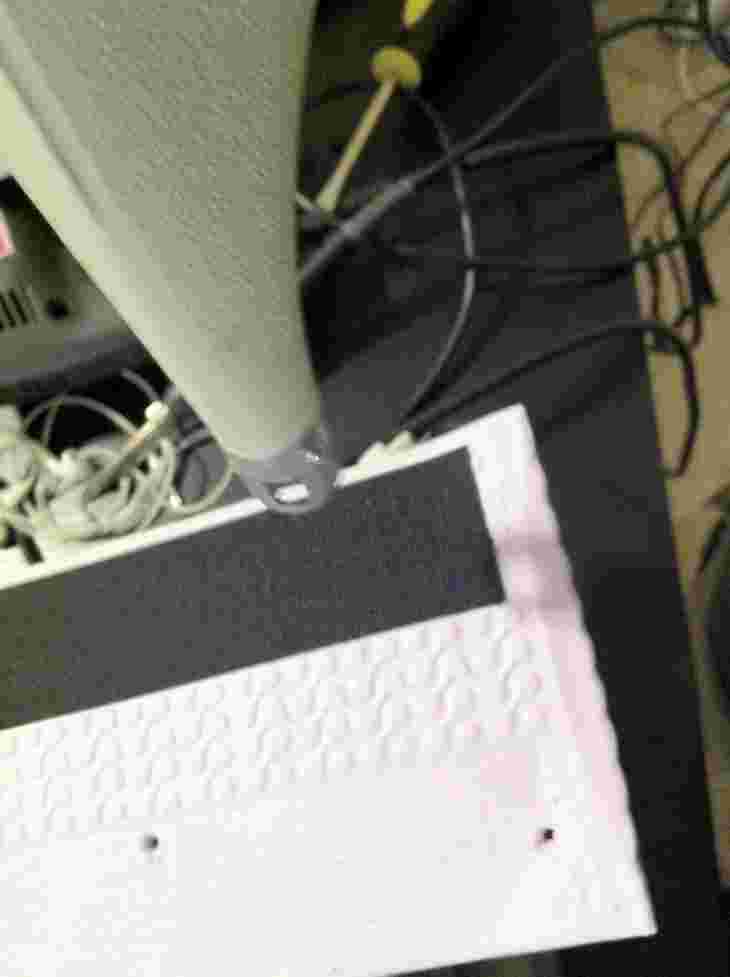
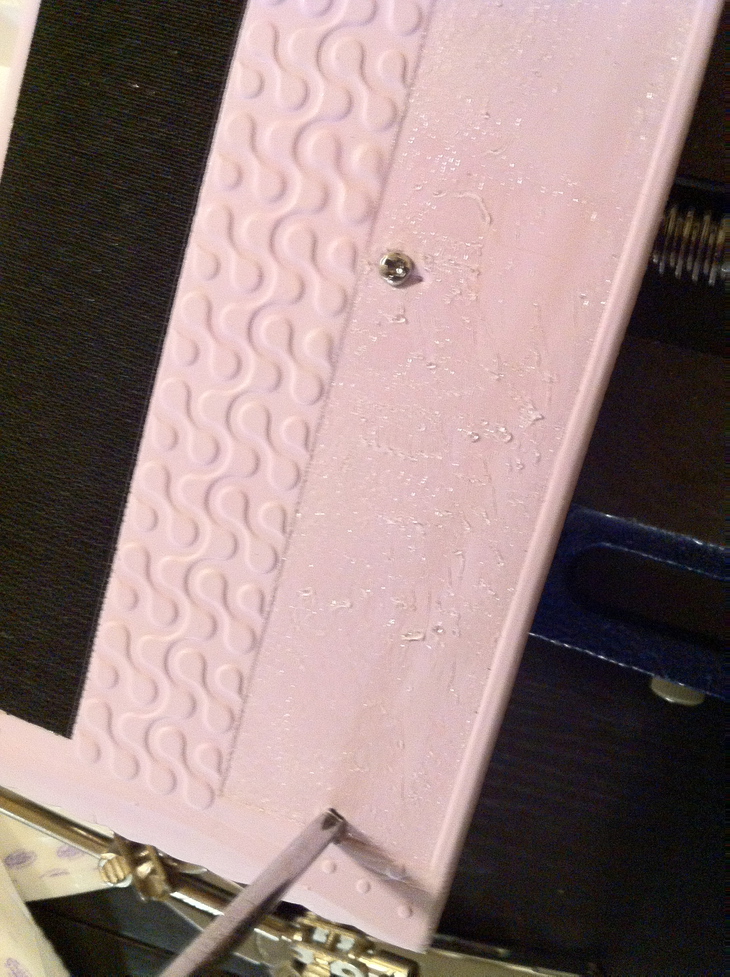
Remove the screws located in the inside of the lower housing.
-
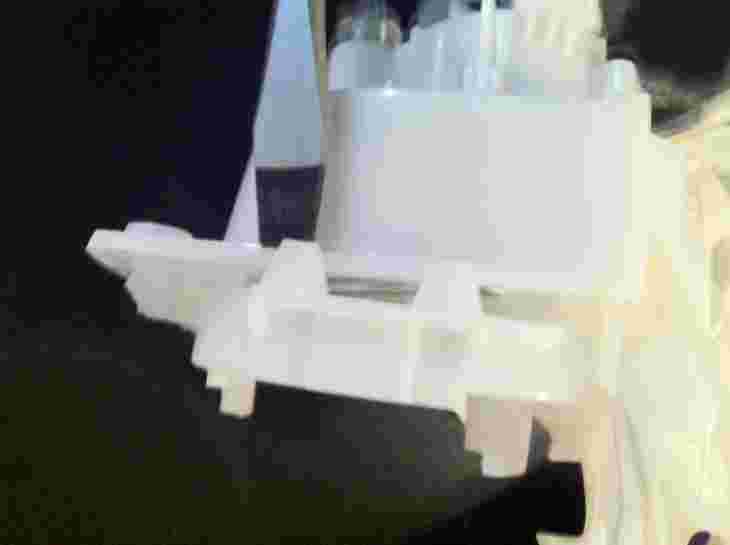
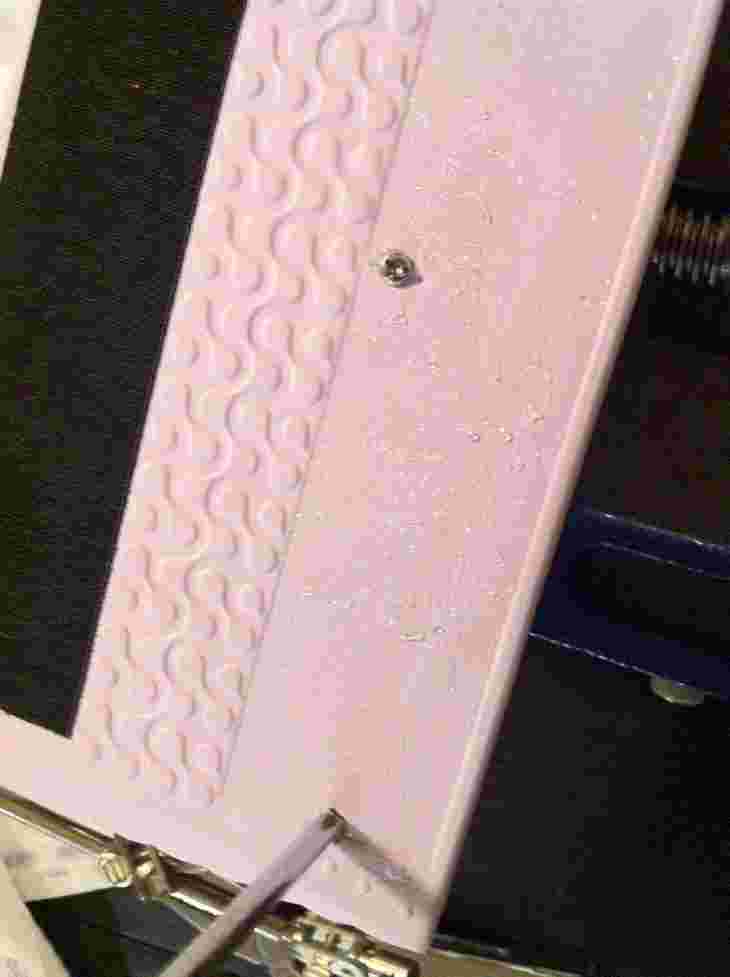
Remove the last screw connected to the white “guts” inside. See below:


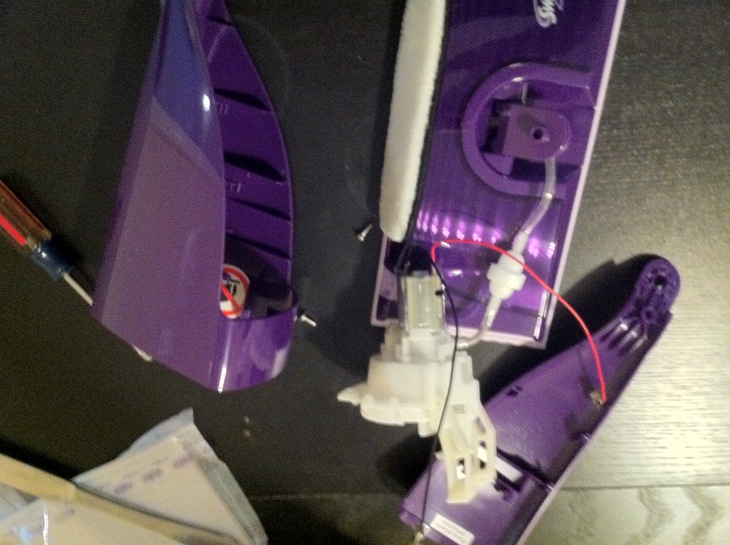
Disassemble the guts
-
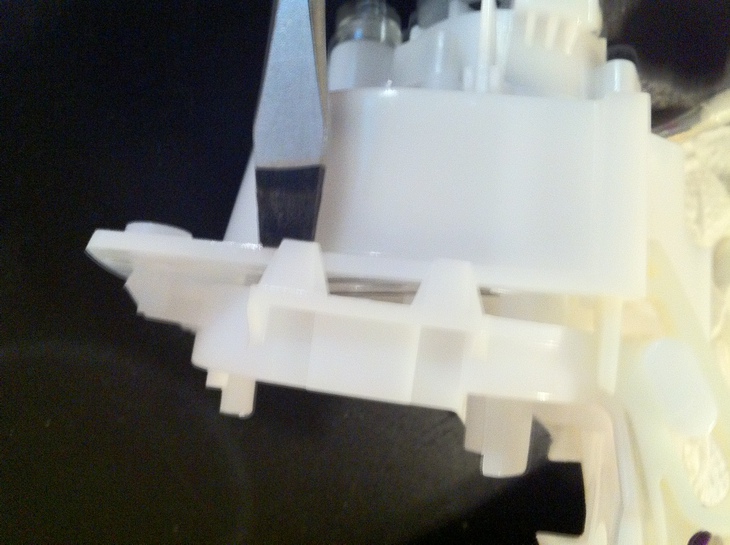
You should be able to pull the white “guts” from the housing.
Warning: There are two extremely sharp spikes inside the “guts” assembly. Be careful when removing.

-
Remove the pump housing screws. You may need to hold back the plastic piece that slides forward and backward when a bottle is inserted.
-
Pry off top plate with a flathead screwdriver.
-
Once you have the screw heads exposed unscrew the ones holding the pump to the surrounding plastic wall.
-
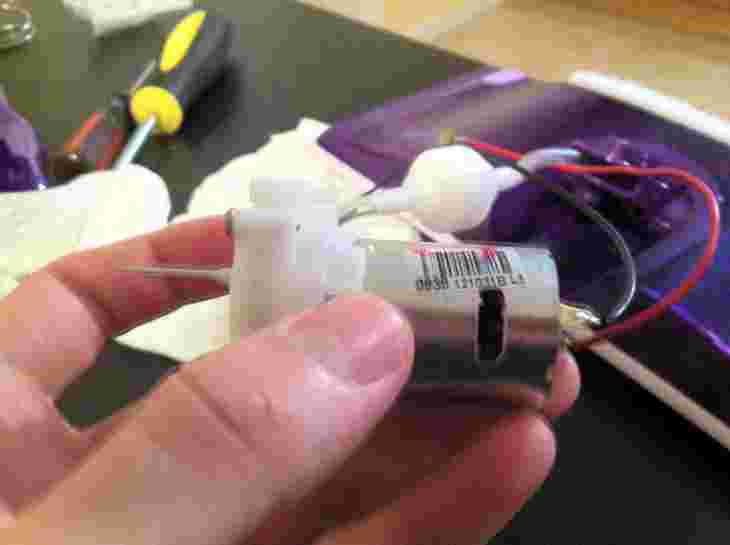
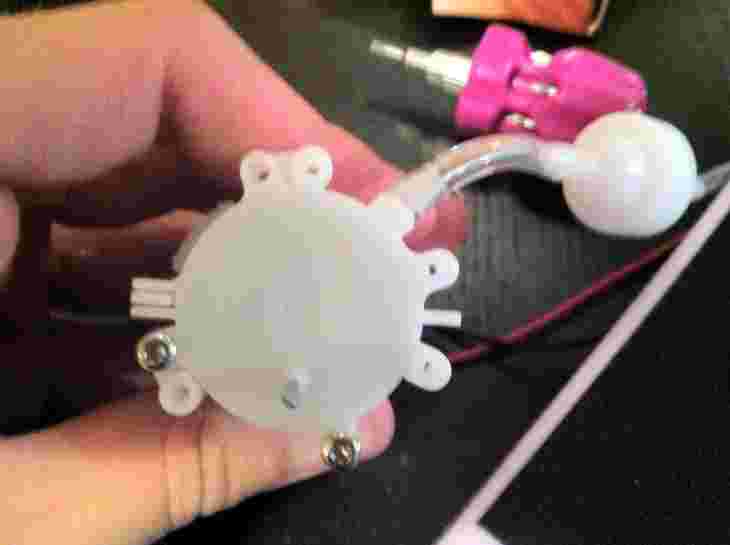
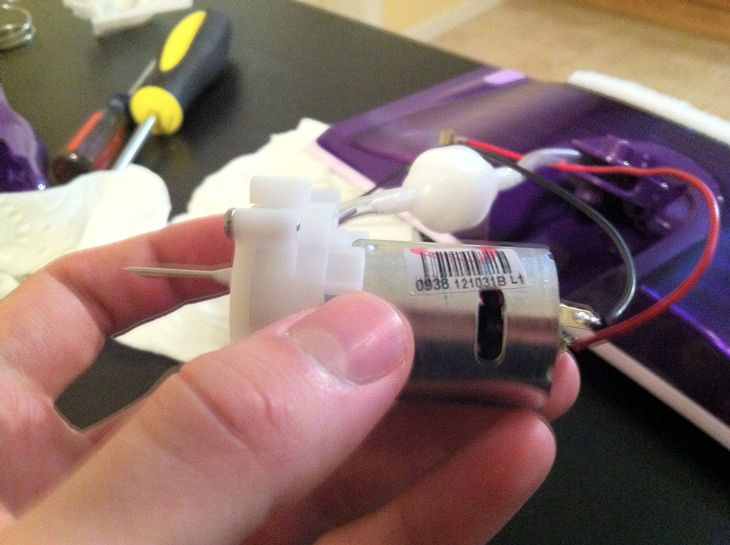
Remove the pump from the plastic wall. (Be Careful!)
-
Cut the tip of the spike. (Mostly for safety reasons – I ended up using a Dremel to grind off the tip. Using any kind of cutters will most likely pinch the walls of the hollow spike together – see below)
-
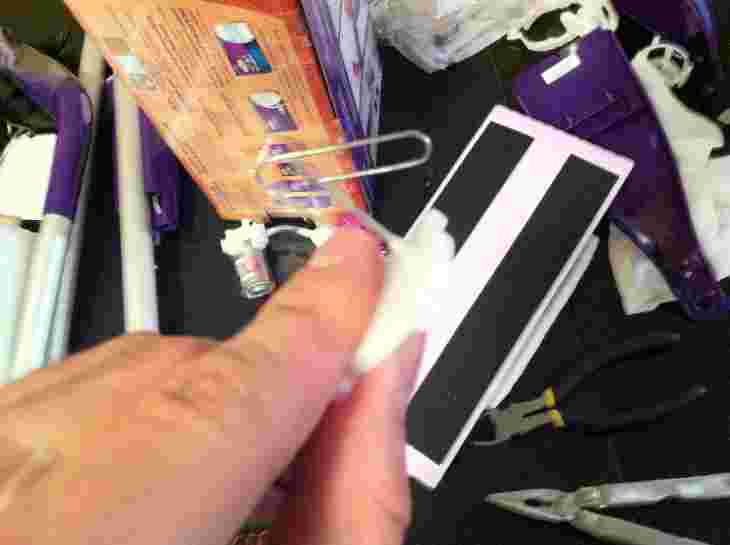
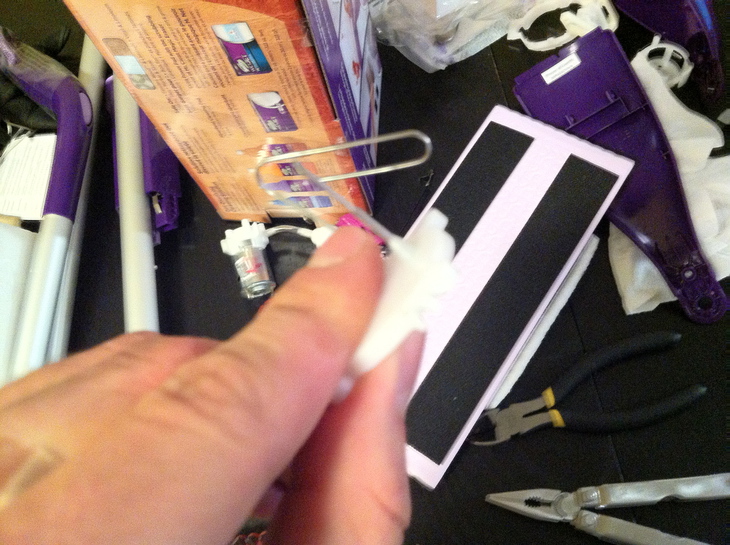
Use a paperclip, as needed, to ensure the hollow spike is clear of debris from grinding it.
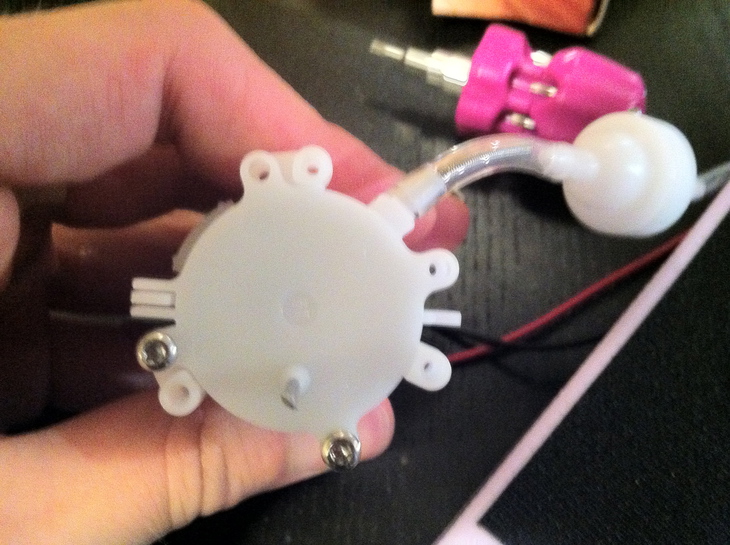
Grab the nozzles and tubing
I also had a use for the tubing and nozzles used to squirt out the cleaning fluid. Lets grab those while we’re at it!
After some wrestling with the lower portion of the Swiffer I figured out how to get the dang thing open. (Luckily the two pieces were not heat staked together)
Turns out there are hidden screws holding the two pieces lower housing together. To get at them you need to remove the velcro as seen in the steps below. (I am doing it this way because I still wanted to use my Swiffer as a mop for the apartment. Be as destructive as you want with your Swiffer. No skin off my back.)
-
Remove the velcro.
Tip: I used my trusty Weller 6966C. It does get a bit too hot for the velcro so I had to ensure it wouldn’t melt it.
Did you know? That using heat makes removing anything sticky a breeze. Remember the last time you tried to remove a sticker off of your brand new computer only to leave a whole bunch of sticky residue? Residue no more my friends.
-
Unscrew the hidden screws.
-
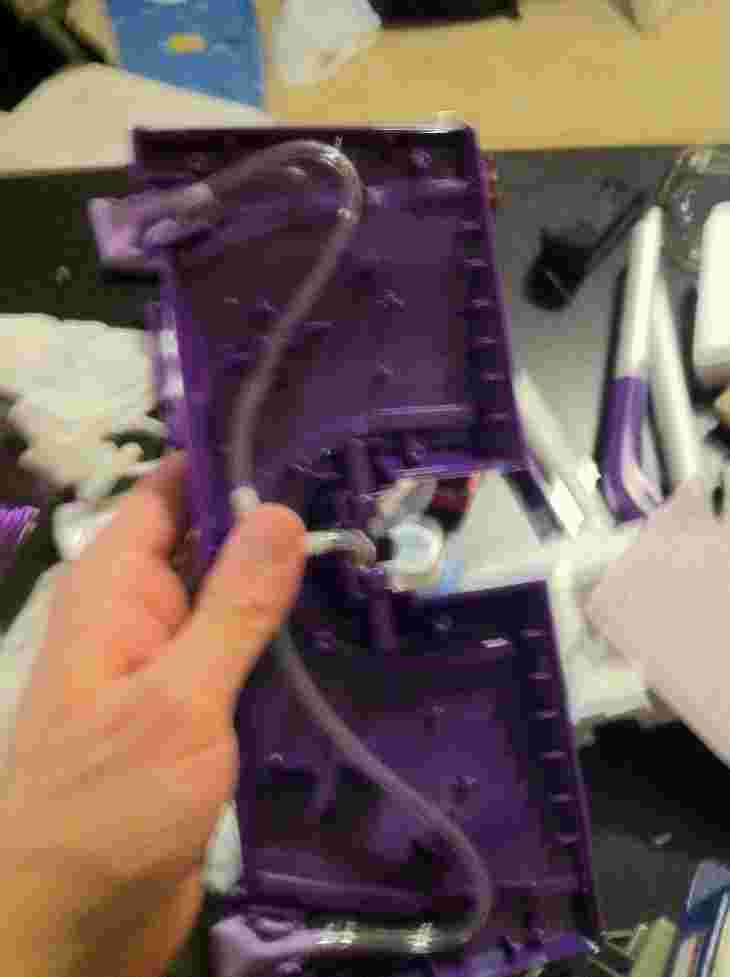
Separate the housings and remove the tubing.

Reassembly (if you dare!)
-
Place the housing back together: replace the screws and stick the velcro where it was originally (I managed to avoid completely maiming my velcro. YMMV!)
-
Reattach the bottom housing to the main lower housing.
-
Attach the handle and you have a simple Swiffer mop.
-
To use the included floor washing fluid you can simply, with some force, unscrew the top of the bottle. You can then place that fluid in any spray bottle (ex. an old empty Windex bottle)
Congrats! You can now mop the floor with the spray bottle and your *New* Swiffer mop!
Conclusion
Since working in product assembly environments i’ve come to appreciate the fact that allot of work goes into ensuring all the parts work together in harmony. It’s even more impressive to think about how every single little piece requires custom plastic injection mold milled from steel blocks. They are, by no means, easy to make and also not easy ensure they come out looking great. Just plain impressive (for a household throw away junky item).
Anyway, thats about it for now. I’m looking forward to the next step in the process. It may involve my raspberry pi. Stay tuned!
Last Modified: 2020.3.7