Wire wrapping one of my favorite prototyping techniques. Used previously for making the interconnections between integrated circuits on motherboards in the 60’s and 70’s it has since gone by the wayside due to the advent of printed circuit board assembly.
I stumbled upon it a few years ago while I was developing some test fixtures for the company I was working for at the time. Turns out that the vendor that was building our fixtures uses it every day!
Since then, I’ve used it to prototype circuits that otherwise would have been much more time intensive to prototype. I’ve also created assemblies that otherwise would have required lots of frustrating soldering which often leads to mistakes or damaging the parts in involved.
Ingredients
-
Breakaway headers (This is a 10 pin but there’s plenty of other combinations out there!)
-
Some development boards to make connections to. Here are links to the boards that I was using:
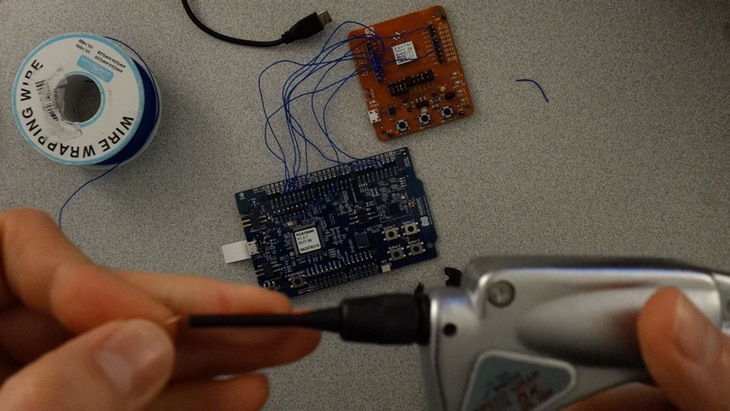
Tools Used
- Wire wrap gun OK Industries G-100 Speed Wrap tool or similar. There’s also manual ones available. Best place to check is eBay.
- Wire Strippers
- Flush snips (I use a pair of Xcelite cutters on my bench)
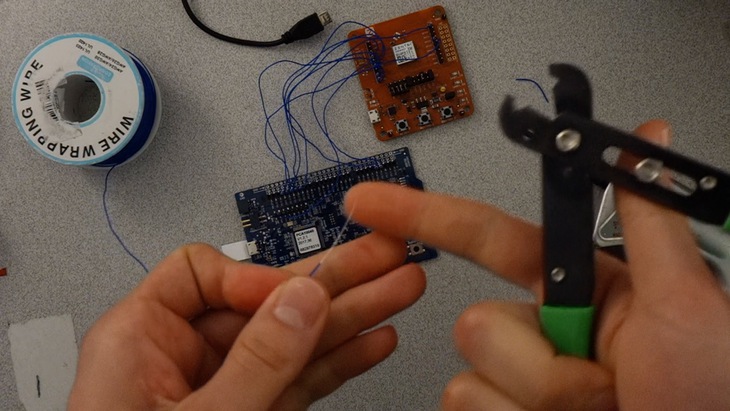
Making the connection
The process to make these connections is relatively simple. I’m using an old OK Machine & Tool Corp Speed Wrap gun and some 30AWG wire wrap wire.
-
Attach a header to the board if it’s not already attached. Or if you have a board with female headers you can purchase a breakaway header with log leads on both ends.
-
Next, take your wire wrap wire and strip the insulation about an inch off.
- Insert the wire into the smaller hole on the wire wrap tool you have. This is the same whether you have a gun or a pen-tool
- Place onto the header
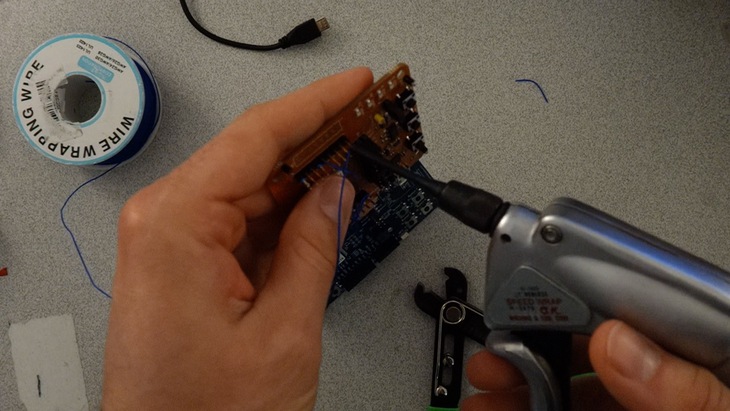
- Spin or activate the hand crank. A delicate pressure is required here to allow the wire to “ride up” the metal post of the header. If you push to hard, the wire often wraps over itself making a not-so-great connection.

- Repeat this process as needed.
Last Modified: 2020.3.7