In this guide, I’m going to show you how to get a basic web server running on a Raspberry Pi.
Sounds intriguing? Let’s get started!
Set the timezone
I found that the timezone was set to UTC on my Pi. There is an easy fix for that. Just run:
pi@raspberrypi:~$ sudo dpkg-reconfigure tzdata

Current default time zone: 'US/Pacific'
Local time is now:      Sat Sep 21 22:55:13 PDT 2013.
Universal Time is now:  Sun Sep 22 05:55:13 UTC 2013.
Once you have completed the prompts you can check the type by running date:
pi@raspberrypi:~$ date
Sat Sep 21 22:58:44 PDT 2013
It will run you through the prompt of selecting a new timezone. Easy peasy.
Install RVM!
For those who are not familiar with RVM, RVM enables you to install and use several different versions of ruby at one time. It comes useful when there are applications that you are developing that require different versions of ruby. If you would like to read more about RVM checkout their website.
Another huge advantage of RVM over installing ruby using apt-get is because it can all be done in userspace and doesn’t require super user permissions. This is quite useful when you pay for shared web space on a service such as Dreamhost and don’t have super permissions to install anything.
Anyway, lets get to work. In your Raspberry Pi console or SSH session type:
\curl -L https://get.rvm.io | bash -s stable
This will install the latest stable version of RVM.
After install you should be able to run the rvm –version command:
rvm --version

rvm 1.22.10 (stable) by Wayne E. Seguin <wayneeseguin@gmail.com>, Michal Papis <mpapis@gmail.com> [https://rvm.io/]
If you get a command not found error try opening a new bash session by typing bash.
Now, before we install ruby, we need to make sure that Raspbian has all the required software first. In order to accomplish this run rvm requirements command. This command will download and install any dependencies before you install ruby.
Note: make sure you’re connected to the internet.
rvm requirements
Once rvm requirements has finished you can now download and install the ruby of your choice. I chose to install the latest version. (which turned out to be ruby-1.9.3-p448 as of this writing)
The command below will install the latest version.
rvm install ruby
This may take a few minutes. As soon as it has completed confirm that the now installed instance of ruby is your default.
Run rvm list to get the details of all the rubies installed:
pi@raspberrypi:~$ rvm list

rvm rubies

=* ruby-1.9.3-p448 [ armv6l ]

# => - current
# =* - current && default
#  * - default

pi@raspberrypi:~$
If the ruby you just installed does not have the =* you should run the command below:
rvm use ruby-1.9.3-p448 --default
This will indicate to RVM that you want to use 1.9.3-p448 and keep it your default should you restart your Raspberry Pi.
Install Git
Git should already come with Rasbpian. You can always install if it’s not for some reason:
apt-get install git
Install Nginx
Debian uses apt-get as their default package manager. To install nginx you need to run:
apt-get update

apt-get install nginx-full
Note: you will need to run these commands as a super user (or with sudo in front)
This will take about 5.9MB of space on your Pi.
Run Nginx
Now lets test everything out!
sudo nginx
Note: you need to run nginx as a superuser.
You can then visit your raspberry pi in your webbrowser!
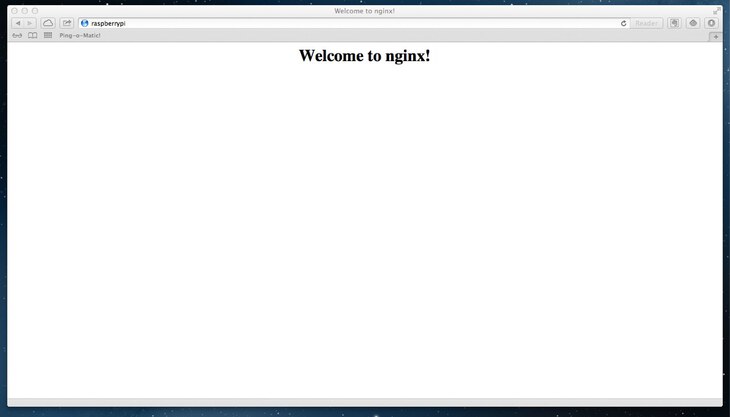
There you have it! A basic web server brought up within a matter of minutes.
Stay tuned for the next post where I dive into getting interactive with my RaspPi.
More Raspberry Pi posts
Want more Raspberry Pi Posts? Follow this link! Think something is missing? Email me.
Last Modified: 2020.3.7