Here’s another mini post about using the built in serial device on the Raspberry Pi. By default, the Raspbian kernel attaches to the serial port (/dev/ttyAMA0) and uses it as a console. In order to interface with an external device, such as an Arduino, you need to disable this auto-attach feature. Fortunately, this problem is solved with a little script: Raspberry Pi Console Enabler/Disabler. The script will automatically remove the auto-attach feature the Raspbian kernel has and will release it for use to userspace. For those of you already familliar with the process, it accomplishes the same tasks as seen here.
Disabling Console
-
Clone the script to a local directory on your Pi
git clone git@github.com:lurch/rpi-serial-console.git -
Changes directories to rpi-serial-console and run:
./rpi-serial-console statusThe
statuscommand will indicate if the serial console is enabled or disabled. We want to make sure it’s disabled. -
If the serial console is enabled, let’s disable it:
sudo ./rpi-serial-console disable -
You need to reboot your Pi after you’ve made these changes.
sudo reboot
Make the connections
Most Arduino boards run on 5V provided by the on board LDO (low-dropout regulator). If we were to wire the Raspberry Pi to the Arduino and plug a USB cable into the Arduino we could risk damaging the Raspberry Pi and/or Arduino (and that wouldn’t be good would it?). Luckily, there’s a quick fix that doesn’t involve any rework. See the connection diagram below:
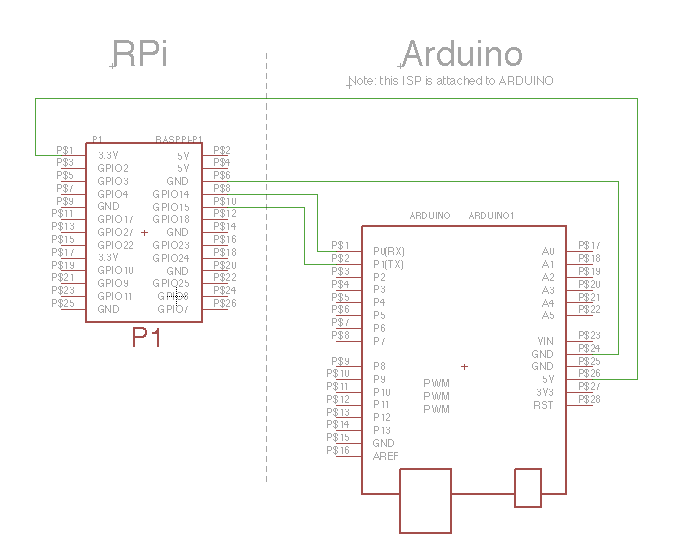
As you can see in the diagram above, the Arduino is piggybacking off of the Raspberry Pi’s power. This allows them to operate on the same voltage, and thus, won’t emit any magic smoke later down the line. :)
Note: if you need to reprogram the Arduino at any point you will need to disconnect these wires. For a more permenant solution that will enable in circuit programming I suggest using a bidirectional level shifter.
Console Access for Debug
Note: if you’re like me and think that SSHing into your Raspberry Pi is a PITA (especially if you’re not connected to a network and running headless) you can always connect the serial pins to external FTDI adapters:
Here are some options from Sparkfun:
1. FTDI Basic Breakout - 3.3V
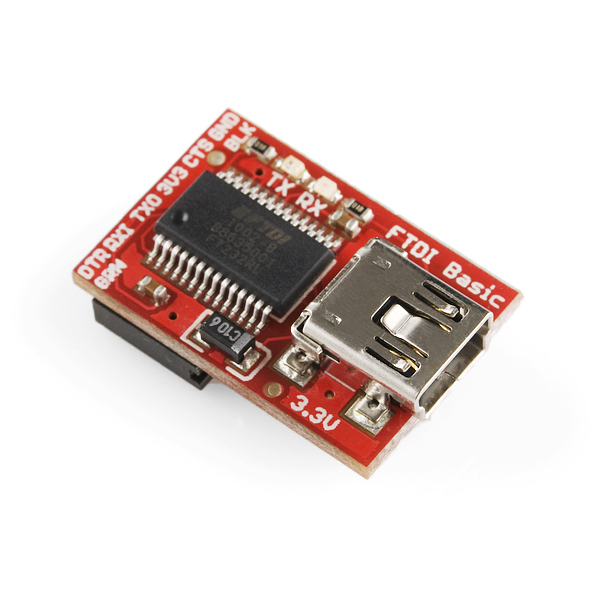
The basic breakout gives you a simple interface to connect to your projects (and in this case your Raspberry Pi)
2. FTDI Cable 5V VCC-3.3V I/O
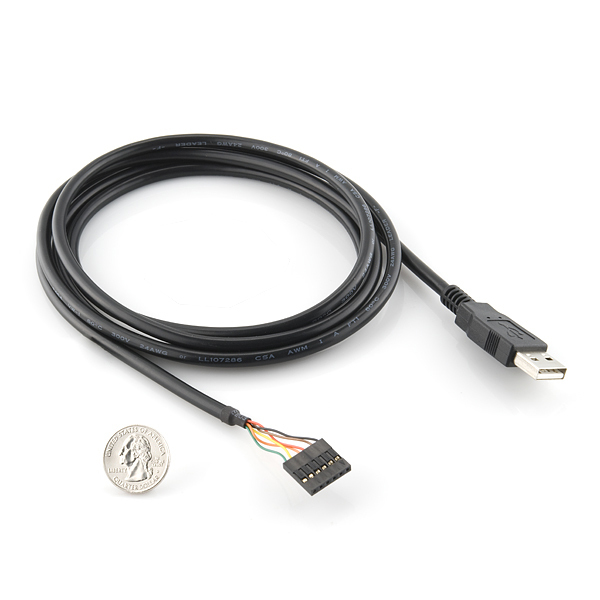
I’ve had lots of experience with these little cables. They make debugging your projects a breeze. Do note that in either case you need the 3.3V versions as the Raspberry Pi operates at 3.3V!
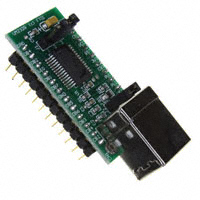
Update 3/31
I’m also adding the FTDI Breakout board to this list as well. The advantage of this board over others is the fact that you can full take advantage of the level translator/shifter between the FT232 and whatever the board is connected to. Meaning, you dont have to have a particular “version” (ex. 3.3V, 5V, etc) to get it to work with your circuitry.
3. FTDI Breakout
Note: obviously you will have to re-enable the auto-attach feature in the Rasbian kernel to get any console output.
Load this code
Here is a simple loopback sketch for checking serial port functionality on the RPi:
# define SERIAL_BAUD 115200

void setup() {

  //Init serial connection
  Serial.begin(SERIAL_BAUD);
  Serial.setTimeout(1);

}

void loop() {

  if ( Serial.available() ) {
    byte type = Serial.read();
    Serial.write(type);
  }

}
Test out the Arduino connection
Run these commands on the Raspberry Pi to open a connection to your now free serial port:
-
We want to use
screento connect to the serial port. But first, we need to install it:sudo apt-get install screen -
Once installed lets connect to the serial port
screen /dev/ttyAMA0 115200Note: the default baud for the serial port is 115200. You can use the enabler/disabler to change the baud.
-
Once connected, you should be able to write characters and they will be printed back out to the screen!
-
To close screen do ctrl + a and then ctrl + \.
Finito
And that’s it! You can now interface with anything connected to your serial port. Let the hacking begin!
Thanks to lurch for the awesome little script! You definitely made everyone’s lives a little easier.
More Raspberry Pi posts
Want more Raspberry Pi Posts? Click here for more!
Last Modified: 2020.3.7